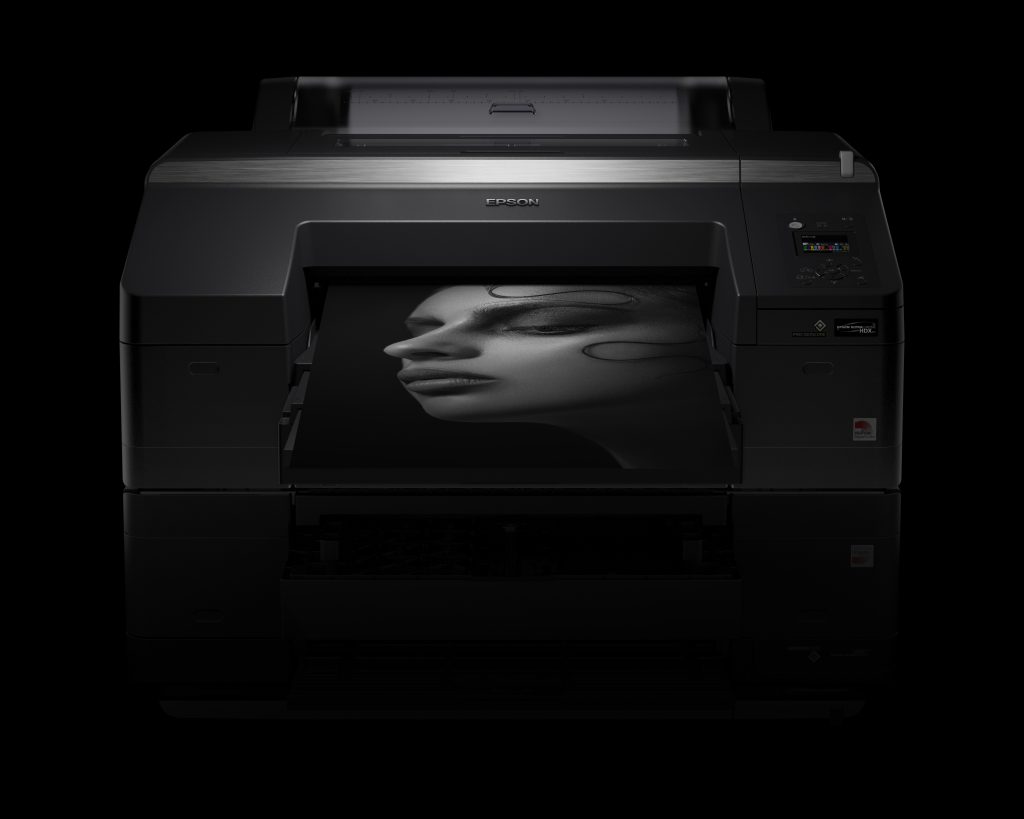
The Epson SureColor SC-P5000 is one of the most dependable proofing solutions available in the market. When comparing the SC-P5000 to earlier models, it is clear that there has been a substantial improvement in terms of black ink technology, head reliability, auto-clean function, and archival properties.
Furthermore, auto nesting, auto gallery wrap, and an intuitive user interface make theEpson SureColor P5000 a valuable addition for any photographer, creative worker, or commercial business. If you are looking for a high-quality wide-format printer, Epson SureColor SC-P5000 may be an excellent choice.
Whether you have already purchased your Epson SureColor SC-P5000 or are considering placing an order at Tetenal, here’s a quick setup guide to streamline the setup process.
Unboxing – What to Expect
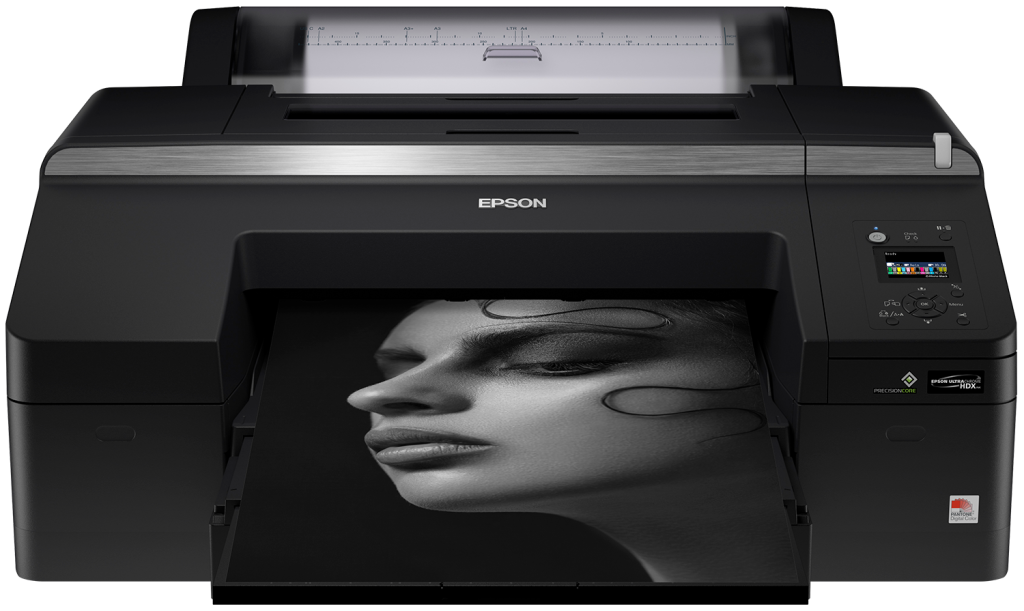
Although the Epson SC-P5000 is noticeably more compact than models like the Epson SureColor SC-P7000, it still comes in large packaging. The printer weighs around 52 Kg and measures 863 x 766 x 406 mm (W x D x H). So, it is safer to have a helping hand to remove the printer from its packaging.
Before anything else, cut off all the shipping tape tabs. Open the box to verify that you have the following printer’s parts and documentation.
Main printer unit
Individual ink cartridges
Power cable
Setup guide
Driver/utilities/ software CD
User manual
Warranty document
While Epson SureColor SC-P5000 does not require lengthy assembly, some pieces still need to be installed. You should also consider where to store the packaging materials if you ever have to relocate the printer.
Choosing the Right Place for Your Printer
Choosing a level surface that can hold the printer’s weight is important. Ensure the printer has adequate space to operate, as shown in the above image.
In addition, many printing scenarios necessitate greater space behind the printer to load sheets, especially if you use stiff media. Leave the following space at the back of the printer to accommodate printing on heavy paper and from a paper cassette.
At least 370 mm for A2 Paper
At least 260 mm for Super A3 Paper
At least 200 mm for A3 Paper
At least 70 mm for A4 Paper
Initial Ink Charging
There are eleven individual ink cartridges for the P5000. Ten are used at once, with a choice between Matte Black and Picture Black that may be toggled on the fly depending on the paper used. You can get the P5000 with light-light black ink for smoother tonality in bright regions and B&W printing, or you can get the P5000 with violet ink for a slightly bigger gamut.
When you turn on the printer, the very first thing you have to do is select a printing mode and choose an ink cartridge. Use the ink cartridges to charge the printer’s ink supply for the first time. Get new ink cartridges and the upkeep kits ready ahead of time.
Ink cartridges should be kept at room temperature and used before the expiration date indicated on the container. Avoid taking ink cartridges apart or modifying them in any way. The quality of your prints may suffer. Ink cartridges may leak if they are dropped or knocked against hard things.
Put one ink cartridge into each of the slots. With a (very) light press, the ink cover slides out of the way, and the cartridges snap into position. If any available slots are vacant, you will not be able to print. It is best to use up ink cartridges as soon as possible after installation, preferably within the first six months. Once all cartridges are loaded, start ink charging.
As you shut the lid, the inks are fed through the machine and to the print head, a process that can take up to ten to fifteen minutes. Charging ink must not be interrupted. Once done, you can see that the ink lines and print head have been filled, indicating that ink has been utilized from each cart.
Epson SC-P5000 System Software
A software CD is included with the printer, but you can also download the necessary software online. If your computer doesn’t have a disc drive or runs Mac OS X, you can download the printer driver and software from www://epson.sn. Following the on-screen prompts to finish the setup. The procedure is laid out in simple, logical steps.
Set a password to safeguard your network configurations as the next step in establishing a network connection. Keep the password to the administrator’s account safe. If you’re familiar with networking, setting up an IPv4 address and other networking settings right from the printer’s front panel is a breeze.
Your printer can be added to your computer’s printer list once it has established communication with your system via the wireless printer option. After adding the printer to your computer’s printer list, you should be able to change settings like the default paper type and other preferences.
We should mention that the printer is equipped with its own web server, allowing you to access it from anywhere and change its network settings and a few other options. You can also verify the validity of the firmware’s current version.
Loading the Paper
Place the troll of paper on the spindle that came with your printer before loading it into the machine. We recommend using Remaining Paper Setup setting before loading the paper. This is especially helpful when using many rolls because the barcode is read automatically, and the paper settings are adjusted accordingly.
Find All the Help You Need at Tetenal
Setting an Epson SureColor P5000 is relatively simple, but if you are facing any problems, Tetenal is here for you. We are the leading providers of photographic and printing supplies, including but not limited to cameras, paper, ink cartridges, film, and other media. Our unique selling proposition is that we help our clients through every step of the process, from choosing the right products to offering them ongoing technical support.
You can also opt for our Epson On-Site Installation/Setup service. Our trained technician will set up the printer, prime the inks, and get everything ready to print. They will download and install all the drivers, an Epson print layout application, and an Epson accounting application.
After that, we’ll provide basic instructions for training and upkeep. We can also make custom profiles for your Tetenal Spectrajet paper and set them up for you, or we can get the generic ICC profiles for any other paper type you need.
All our technicians are Epson trained and certified, so you can rest assured you will receive the best advice and service. Get in touch withTetenal Service Supportright away to investigate your printing needs or troubleshoot any technical issues you may be having with your Epson SureColor P5000. We are always ready to help!